Sharing
Share devices or zones across organisations, and manage received shares.
Sharing
Drexo is a multi-tenant platform. Each organisation owns its own devices, but can grant read (or edit) access to external recipients: another customer, a contractor, a neighbour, an auditor. This page covers the three sharing modes and how to manage what you see or what you give others access to.
The page slug stays
/partagesin both locales so the language switcher round-trips cleanly. The content here is the English source of truth.
Three sharing modes
1. Personal share (to a person)
You share a device or a zone with a specific email address.
- If the recipient already has a Drexo account, the share shows up immediately in their Shared with me.
- If they don't have an account yet, Drexo creates a pending invitation; the share materialises as soon as they finish signing up.
- The role (
vieweroreditor) and the expiry (any duration, or unlimited) are set at share time and editable later without revoking.
2. Share to an organisation
You share to a third-party organisation whose ID you know. Every member of that organisation gains access, capped at the role granted.
Variant: extensible share. You grant a personal share to a person and check "can be extended to their organisation". The recipient then picks the zone and target organisation in their own interface: you don't need to know your partner's internal structure.
3. Public link
You generate a shareable URL to send via email, QR code, chat. The recipient doesn't need a Drexo account. Options:
- Optional password.
- Configurable expiry (default 7 days).
- Revocation at any time from the device page.
- Reversible suspension: the link answers "suspended" without being destroyed; re-enabling restores the same URL and the view counters survive.
- Rotation: a new URL replaces the old one, which stops working immediately (useful when a link has circulated too widely). The password, expiry and statistics are preserved.
- CSV download (off by default): the visitor can export the shared view's device lists to CSV, with the same rows and columns as the display (up to 10,000 rows). Enable it when creating the link or later from the link list ("CSV enabled / disabled" badge); the server re-checks the permission on every export.
Public links are read-only: pinning, renaming, or configuring dashboards is impossible from a public link. CSV export, when enabled, doesn't change that rule: it downloads what is already displayed.
What a shared dashboard shows
A shared dashboard (public link or personal share) renders all of its widgets: individual devices, section headings, zone links, multi-device aggregates, device lists and sub-zones. Two guardrails:
- Devices the share creator does not own are excluded from the rendering (and counted in the "M devices not available" banner). An aggregate never sums a meter outside the sharer's scope.
- On a device list, the visitor can temporarily filter and sort what is displayed; nothing is persisted.
Granting a share
On a device page or a zone page, if you own the organisation, a Share button appears in the header. The label includes the count of existing shares: Share (3).
Click it: a panel opens listing every existing share. For each:
- Edit : changes the role or expiry without revoking (access
is uninterrupted,
granted_atis preserved). - Revoke : removes the access immediately.
The primary CTA + New share launches the wizard:
- Pick the mode (personal / organisation / public link).
- Enter the recipient (email, organisation ID, or nothing for a public link).
- Choose the role and the expiry.
- For a personal share: optionally tick "can be extended to their organisation".
- Confirm.
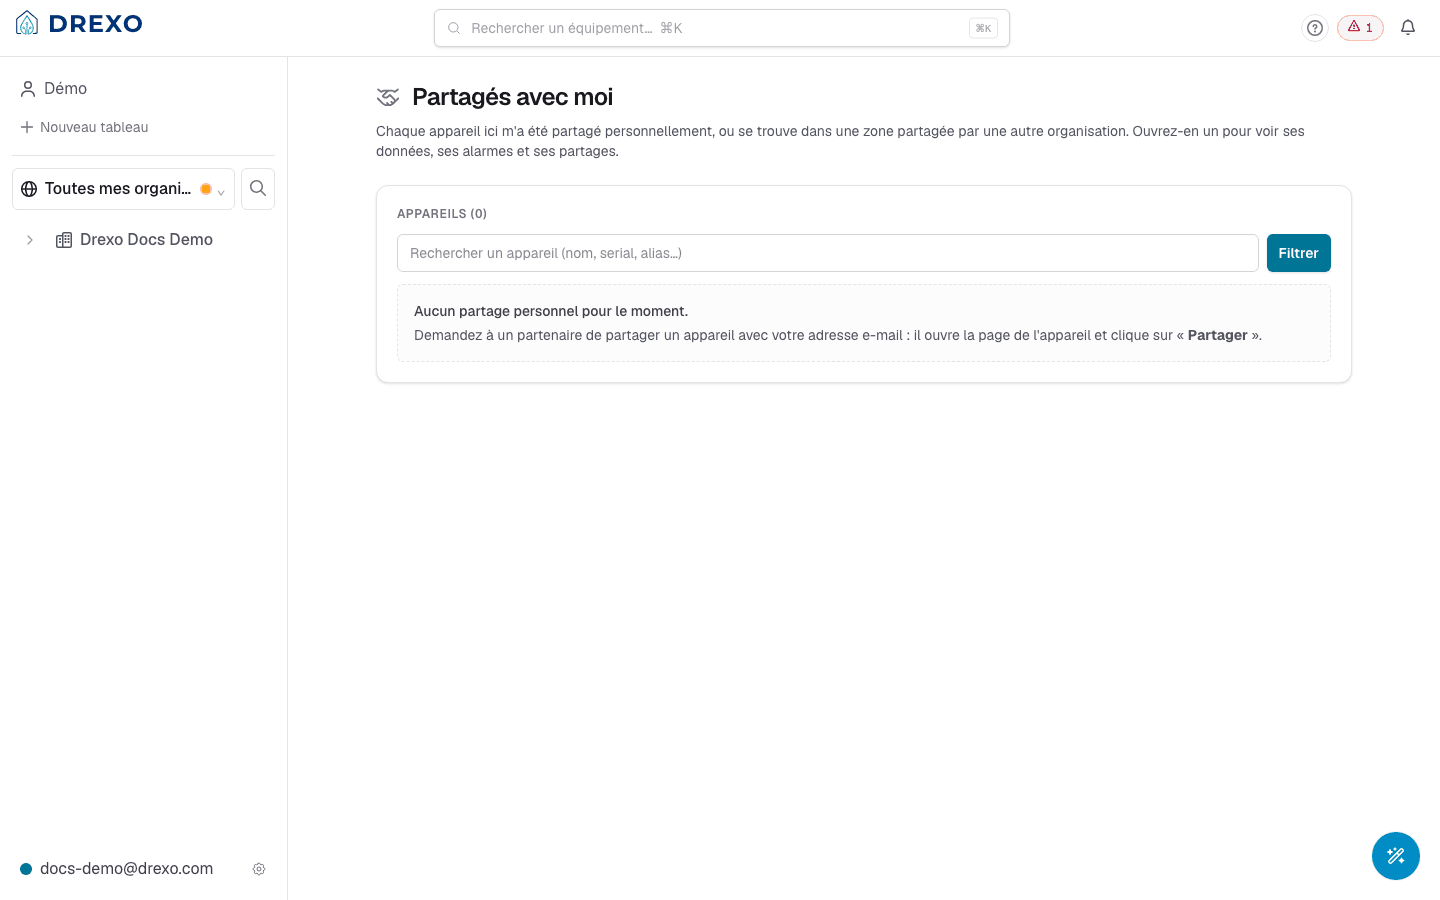
Receiving a share ("Shared with me")
/me/partages lists every device you have access to via a share
(not by membership in an organisation). Each row shows:
- The name of the device (with its contextual alias if your organisation gave it one).
- The access paths as chips: 👤 personal, 🏢 Org X. Several paths can reach the same device; the strongest role wins.
- The placement in your tree if the share is already placed
(e.g.
Chaq → Test). - A NEW badge (per device) until you've opened the page since the last notification.
Devices coming from multiple source organisations are grouped under a per-source header to stay legible at 50+ rows.
Placing a share
When a share is marked "extensible" by its granter, the recipient sees a Place in a zone button on the row.
- Click Place.
- Pick a zone in your organisation (instant search across all your zones).
- Confirm.
Effect:
- The device becomes visible to every member of your organisation, in the chosen zone.
- If the granter revokes the personal share, the organisation share is automatically revoked too (cascade).
Leaving a share
On a shared device's page, at the bottom, a Leave share button removes your personal access. The organisation share (if you placed one) survives until the granter revokes it explicitly.
History and audit
Each organisation's Settings → Sharing page lists:
- Shares granted by your organisation.
- Full history (revoked, expired, modified shares).
- Active public links with their open count.
Going further
Locations and device placement
Organise your devices into zones — see unplaced devices, place them in bulk, and move them between zones.
Roles and permissions
Give each member the right standard role (Admin, Operator, Viewer), create custom roles limited to a selection of tags, and personalize your navigation.